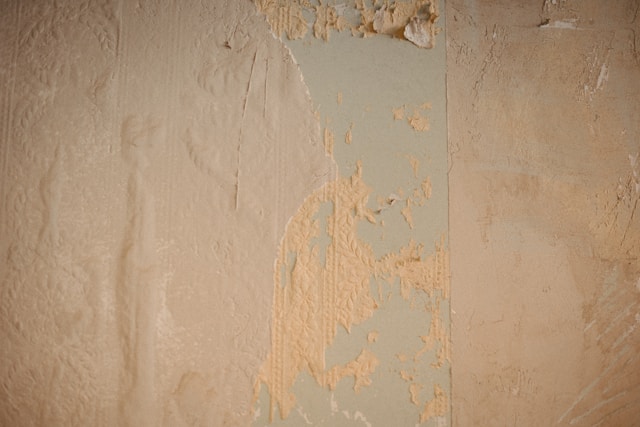
If you’ve ever walked into a room and thought, “This wallpaper has got to go,” you’re not alone. Styles change, and what once felt charming might now feel dated. However, learning how to safely remove wallpaper is key to avoiding unnecessary wall damage and costly repairs. By following the right steps and using the right tools, you can transform your walls into a fresh, clean canvas for your next design project.
Gather Your Tools & Materials
Before starting, make sure you have everything you need for a smooth process. The right wallpaper removal tools will make the job faster and safer:
-
Drop cloths or plastic sheeting to protect floors
-
Painter’s tape
-
Putty knife or scraper
-
Sponge and bucket
-
Warm water or wallpaper removal solution
-
Spray bottle for even application
-
Scoring tool (for traditional wallpaper)
-
Optional: wallpaper steamer for stubborn areas
-
Rubber gloves to protect your hands
Prepare the Room
Proper preparation makes a big difference when you remove wallpaper without damaging walls:
-
Move furniture away from the walls or cover it with protective sheets.
-
Turn off power to outlets and switches, then cover them with painter’s tape to avoid water contact.
-
Lay down drop cloths to protect your floors from moisture and debris.
Test the Wallpaper Type
Not all wallpaper is created equal, and knowing the type helps determine the best removal method. Perform a peel test:
-
Peelable wallpaper: The top decorative layer pulls off easily, leaving a paper backing behind.
-
Strippable wallpaper: Comes off in whole strips without much effort.
-
Traditional pasted wallpaper: Fully glued to the wall and requires soaking and scraping.
Identifying the type will guide your approach and save you time.
Remove the Wallpaper
Peelable Wallpaper
-
Start at a seam or corner and gently pull the top layer away from the wall.
-
Once the top layer is gone, spray the paper backing with warm water or wallpaper remover solution.
-
Let it soak for 10–15 minutes, then scrape gently with a putty knife.
Traditional Wallpaper
-
Use a scoring tool to lightly puncture the surface this allows water or solution to penetrate.
-
Spray the wallpaper evenly with warm water or a wallpaper removal solution.
-
Wait about 15 minutes for the adhesive to soften.
-
Scrape slowly, working in small sections to avoid gouging the wall.
Using a Steamer
For especially stubborn wallpaper, a wallpaper steamer can be a game-changer:
-
Hold the steamer plate against the wall for 10–15 seconds.
-
Remove the steamer and gently scrape away the loosened wallpaper.
-
Work in small areas to keep the adhesive warm and easy to remove.
Clean the Walls
Once the wallpaper is off, adhesive residue often remains. Use a sponge and warm soapy water to wipe it away. For more stubborn glue, use a diluted vinegar solution. Let the walls dry completely before painting or applying new wallpaper.
Troubleshooting Stubborn Wallpaper
Even with the right technique, some wallpaper puts up a fight. If that happens:
-
Reapply your removal solution and give it more soaking time.
-
Switch to a steamer for hard-to-remove patches.
-
Repair any minor damage with joint compound, then sand smooth before redecorating.
Safety Tips
Following these safety steps will protect you and your walls:
-
Wear gloves to protect your skin from chemicals and hot steam.
-
Ventilate the room well when using removal solutions.
-
Avoid over-scraping to prevent unnecessary wall damage.
Conclusion
Removing wallpaper doesn’t have to be a frustrating ordeal. By gathering the right tools, preparing the space, and following a step-by-step wallpaper removal process, you can strip away old designs and reveal clean walls ready for a fresh start. With patience and care, DIY wallpaper removal becomes a manageable home project one that can completely transform the look and feel of your space without risking the integrity of your walls.

