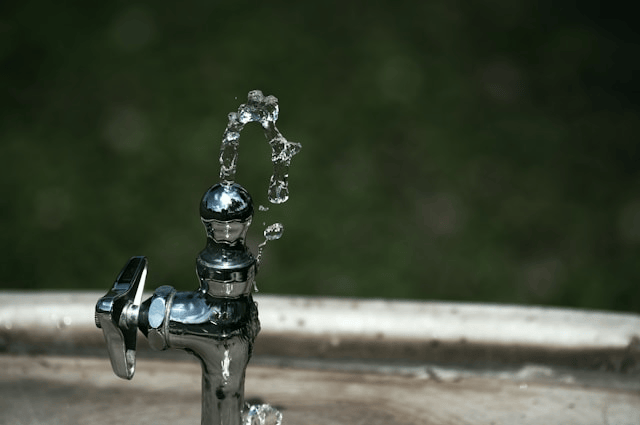
A dripping faucet is more than just an annoyance it can waste gallons of water every day and lead to higher utility bills over time. Fortunately, you don’t have to be a plumber to handle the job. With a few tools and some basic know-how, you can fix a leaking faucet yourself and save both water and money.
In this detailed guide, we’ll walk you through how to repair a leaky faucet step by step. Whether you have a compression, cartridge, ball, or ceramic-disk faucet, this faucet repair guide will help you identify the issue and stop that pesky drip.
Why Fixing a Leaky Faucet Matters
A small drip may not seem like a big deal, but even one faucet leaking at a rate of one drop per second can waste over 3,000 gallons of water a year. Not only does that contribute to higher water bills, but it also puts unnecessary strain on the environment. Learning how to stop a faucet from dripping is one of the easiest ways to become more eco-conscious at home.
Tools and Materials You’ll Need
Before you get started, make sure you have the following tools and supplies on hand:
-
Adjustable wrench
-
Flathead and Phillips screwdrivers
-
Replacement parts (washers, O-rings, cartridges, depending on faucet type)
-
Plumber’s grease
-
Towels or rags
-
A small bowl or cup for holding screws and parts
Optional: a flashlight for better visibility under the sink
Step 1: Identify Your Faucet Type
To fix a dripping faucet properly, you first need to know what kind of faucet you have. Most residential faucets fall into one of four categories:
1. Compression Faucets
These have separate handles for hot and cold water. They work using a rubber washer that compresses against a valve seat.
2. Cartridge Faucets
These can have one or two handles and use a movable cartridge to control water flow. They usually offer smooth operation.
3. Ball Faucets
Common in older kitchens, these use a single handle over a rounded cap. They contain multiple small parts, including rubber seals and springs.
4. Ceramic-Disk Faucets
These have a wide cylindrical body and are known for their durability. They use a pair of ceramic disks to control flow and temperature.
Identifying your faucet type will determine the correct repair method and parts needed.
Step 2: Turn Off the Water Supply
Before you start taking anything apart, always turn off the water supply. Look for the shutoff valves under the sink typically located near the back wall. Turn them clockwise to close.
Next, open the faucet to drain any remaining water and relieve pressure in the lines.
Place a towel or bucket under the sink to catch any drips during the repair process.
Step 3: Disassemble the Faucet
Begin by removing the decorative cap or handle, which is usually held in place by a screw. Use a screwdriver or Allen wrench depending on the model.
Once the handle is off, you’ll have access to the internal components. Carefully remove the retaining nut, bonnet, or cartridge housing using a wrench or pliers, depending on your faucet type.
Be sure to keep all screws and parts organized in a small bowl so you don’t lose anything.
Step 4: Repair by Faucet Type
For Compression Faucets:
-
Remove the stem and inspect the rubber washer at the bottom.
-
If the washer looks worn or cracked, replace it.
-
Also check the O-ring around the stem and replace it if needed.
-
Reapply plumber’s grease to the stem before reassembling.
For Cartridge Faucets:
-
Pull out the old cartridge using pliers (some models require a special tool).
-
Take it to a hardware store to find an exact match.
-
Insert the new cartridge, making sure it aligns correctly.
-
Replace any worn O-rings or seals.
For Ball Faucets:
-
These contain several parts: cam, ball, seats, and springs.
-
Use a ball faucet repair kit to replace all the internal components.
-
Clean the inside of the faucet body before installing new parts.
For Ceramic-Disk Faucets:
-
Remove the cylinder and check for worn-out seals.
-
Clean the cylinder and valve housing with vinegar if you see mineral deposits.
-
Replace any damaged seals and reassemble carefully.
Step 5: Reassemble and Test
Once you’ve replaced the faulty parts:
-
Reassemble the faucet in the reverse order you disassembled it.
-
Tighten everything securely but don’t overtighten, as it can cause damage.
-
Turn the water supply back on slowly and check for leaks.
-
Open the faucet to test hot and cold water functionality.
If the faucet no longer drips and functions smoothly, congratulations you’ve successfully learned how to repair a leaky faucet!
When to Call a Professional
If you’ve followed all the steps and the faucet is still leaking, or if you encounter corrosion, stripped threads, or cracked components, it may be time to contact a licensed plumber.
Sometimes a faucet may be beyond repair and replacing the entire unit is the better option.
Preventive Maintenance Tips
-
Regularly clean faucet aerators to prevent buildup.
-
Avoid over-tightening handles to reduce wear on washers and O-rings.
-
Check for leaks periodically and address them early to prevent damage.
By staying proactive, you can avoid bigger plumbing issues in the future.
Conclusion
Fixing a leaking faucet may seem daunting, but it’s a manageable project with the right tools and knowledge. This guide on how to repair a leaky faucet offers a straightforward approach for anyone looking to take on a quick home improvement task.

