
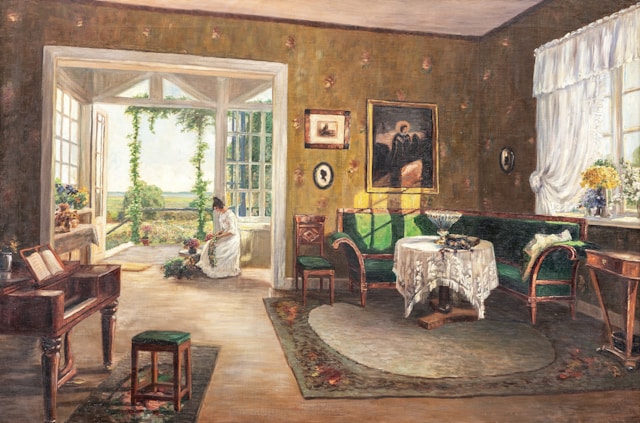
Hanging art might seem as simple as hammering a nail into the wall, but if you want your space to truly shine, there’s a bit more to it. Whether you’re hanging a single statement piece or designing a full gallery wall, knowing how to hang art like a pro can instantly elevate your interiors.
This guide walks you through the art of hanging pictures correctly covering everything from ideal height and spacing to tools, techniques, and layout inspiration.
Step 1: Plan Before You Hang
Before you start drilling holes in your wall, take time to plan. A well-thought-out display begins with understanding your space and the story your art should tell.
Choose the Right Art for the Space
Think about where you’re hanging the artwork. Is it a calming bedroom, a lively dining area, or a creative home office? The function of the room should influence the mood and type of art you display.
-
Match the scale of the art to the wall size.
-
Consider your existing color palette and decor style.
-
Decide between one large piece or multiple smaller ones.
Visualize Your Layout
Lay out your arrangement on the floor first or use kraft paper cutouts and painter’s tape to mock up the layout on the wall. This will help you see proportions and spacing before making any holes.
Step 2: Determine the Right Height
One of the biggest mistakes people make is hanging artwork too high. Following proper art hanging height guidelines ensures your display feels intentional and balanced.
Standard Hanging Height
Art galleries and museums often hang artwork so the center of the piece is 57 to 60 inches from the floor. This is considered average eye level and works well in most homes.
Adjusting for Furniture
When hanging art above furniture like a sofa, console table, or headboard:
-
Leave about 6 to 10 inches of space between the top of the furniture and the bottom of the frame.
-
Ensure the artwork is about two-thirds the width of the furniture below it for visual harmony.
Hanging art on the wall at the right height makes a huge difference in making your space look polished and cohesive.
Step 3: Master Spacing and Composition
Proper spacing between artworks can make a layout feel curated instead of cluttered.
Basic Spacing Rules
-
Keep 2 to 6 inches between frames when grouping multiple artworks.
-
For diptychs or triptychs, aim for 2 inches between pieces to keep them visually connected.
-
If placing multiple pieces in a row, align them at their center points, not tops or bottoms.
Symmetry vs. Asymmetry
-
Symmetrical arrangements (like grid layouts) create formality and balance perfect for dining rooms or entryways.
-
Asymmetrical or salon-style arrangements feel more relaxed and are ideal for eclectic or creative spaces.
Knowing how to hang art like a pro is about understanding these subtle details that affect the entire look of a room.
Step 4: Use the Right Tools and Hardware
Hanging artwork securely is just as important as hanging it straight. Using the right tools and hardware ensures your art stays level and safe.
Essential Tools
-
Tape measure
-
Pencil
-
Level or laser level
-
Hammer or drill
-
Painter’s tape
Choosing Hardware
-
Use picture hangers or wall anchors for heavier pieces.
-
For lighter pieces, small nails or adhesive hooks may be sufficient.
-
Consider your wall type drywall, plaster, brick, or concrete may require different anchors or screws.
Be sure to check the weight limit of your chosen hardware to prevent damage or accidents.
Step 5: Create a Gallery Wall
Gallery walls are a great way to showcase multiple pieces of art or photos with personality and flair. While they can look spontaneous, the best ones are actually carefully planned.
Gallery Wall Tips
-
Choose a theme: color palette, frame style, or subject matter
-
Mix and match frame sizes and shapes
-
Lay everything on the floor first to find a balanced arrangement
-
Keep spacing consistent (2–3 inches apart usually works well)
-
Use painter’s tape to mark your layout on the wall
Grids, rows, or free-form salon styles all work just make sure your final composition feels cohesive.
If you’re looking for the best way to hang artwork in a dynamic and modern way, gallery walls are your go-to solution.
Step 6: Final Pro Tips
Here are a few more insider tricks to ensure your display looks polished and professional:
Use a Level
Whether you’re hanging one piece or ten, a level (or laser level) is essential for keeping your art straight. Eyeballing it rarely works.
Consider Lighting
If possible, place artwork where it can be lit naturally or with accent lighting. Avoid hanging valuable art in direct sunlight to prevent fading.
Avoid These Common Mistakes
-
Hanging art too high
-
Ignoring the furniture below
-
Using mismatched spacing between pieces
-
Hanging pieces without planning the layout first
-
Using weak or incorrect hardware
When you avoid these pitfalls, your art will look more intentional and refined just like a professionally designed space.
Conclusion
Learning how to hang art on the wall the right way is one of the easiest ways to transform your home. From picking the perfect height to creating a gallery wall, following these simple guidelines will help your space feel curated, stylish, and uniquely yours.