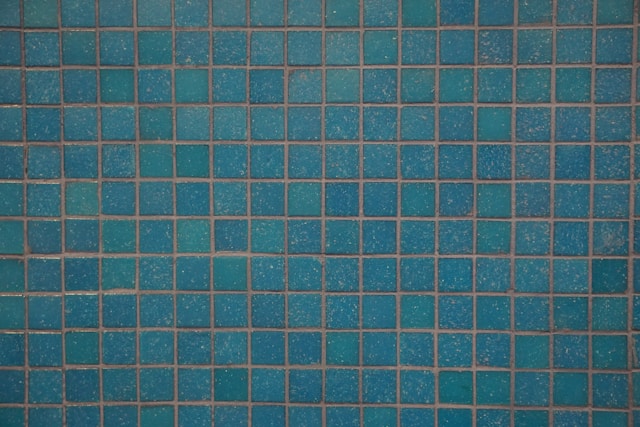
Grout might not be the first thing you notice in a tiled room, but dirty or damaged grout can make even the nicest tile look old and neglected. Over time, grout lines absorb dirt, moisture, and stains, leading to discoloration, mold growth, and crumbling. That’s why learning how to clean grout and just as importantly, how to seal it is essential for maintaining your home’s tile surfaces.
Whether you’re tackling a bathroom, kitchen, or tiled floor, this guide will walk you through everything you need to know about cleaning and sealing grout properly. It’s easier than you think, and doing it yourself can save time and money.
Why Cleaning and Sealing Grout Matters
Grout is the porous material that fills the space between tiles. Because of its composition, it easily absorbs liquids, grease, and debris. If left uncleaned and unsealed, grout can:
-
Become stained and discolored
-
Harbor mold and mildew
-
Crack or crumble over time
-
Reduce the visual appeal of your space
Cleaning grout helps restore its original color, while sealing it prevents future stains and damage. This simple maintenance step protects your tile investment and keeps your home looking fresh and hygienic.
What You’ll Need
Before getting started, gather the right tools and products. Here’s what you’ll need to clean and seal tile grout:
For Cleaning Grout:
-
Baking soda and vinegar (or a commercial grout cleaner)
-
Small stiff-bristled brush (old toothbrush works)
-
Spray bottle
-
Warm water
-
Microfiber cloth or sponge
-
Rubber gloves
-
Optional: steam cleaner, oxygen bleach
For Sealing Grout:
-
Grout sealer (penetrating or membrane-forming)
-
Applicator bottle with brush, foam brush, or small paintbrush
-
Clean cloth
-
Masking tape (optional for neat application)
How to Clean Grout
Cleaning grout doesn’t require professional help just a little patience and the right approach. Follow these steps to get your grout looking like new:
Step 1: Prepare the Area
-
Sweep or vacuum the tiled surface to remove dust, crumbs, and debris.
-
Mop the area with warm water to remove surface grime.
Step 2: Apply Grout Cleaner
-
Mix baking soda and water into a thick paste and apply it to the grout lines.
-
Spray vinegar over the paste. It will bubble as it reacts, helping lift dirt.
-
Alternatively, use a commercial grout cleaner if preferred.
Step 3: Scrub the Grout
-
Using a toothbrush or grout brush, scrub in a circular motion to loosen dirt and stains.
-
For stubborn stains or mildew, apply oxygen bleach (follow package instructions) or use a steam cleaner.
Step 4: Rinse and Dry
-
Wipe down the tile and grout with a damp cloth or sponge to remove residue.
-
Let the grout dry completely at least 24 hours before sealing.
Pro Tip: Always test your cleaning solution in a small, hidden area first to ensure it doesn’t damage the tile or grout.
How to Seal Grout (Step-by-Step)
Once your grout is clean and dry, it’s time to seal it to prevent future staining and moisture absorption. Here’s how to seal grout properly:
Step 1: Choose the Right Sealer
There are two main types of grout sealer:
-
Penetrating sealer: Soaks into the grout and allows moisture to escape. Ideal for bathrooms and kitchens.
-
Membrane-forming sealer: Creates a protective layer on top of the grout. Best for low-moisture areas.
Choose the best grout sealer based on your room’s needs and tile type.
Step 2: Apply the Sealer
-
Use an applicator bottle with a built-in brush or a small foam brush.
-
Carefully apply the sealer along the grout lines, avoiding the tile surface as much as possible.
-
Work in small sections to avoid drying out before wiping.
Step 3: Wipe Excess and Let It Cure
-
After 5–10 minutes, wipe off any excess sealer from the tile with a clean cloth.
-
Allow the sealer to cure for 24–48 hours before using the area or getting it wet.
Pro Tip: Some areas may require a second coat. Always follow the manufacturer’s instructions for drying time and reapplication.
Maintenance Tips for Long-Lasting Grout
Once you’ve cleaned and sealed your grout, a little ongoing maintenance will keep it looking fresh:
-
Clean spills promptly: Don’t let food or liquid sit on grout lines.
-
Use a mild cleaner: Avoid harsh chemicals that can degrade sealer over time.
-
Ventilate moist areas: Use fans or open windows in bathrooms to reduce humidity.
-
Use rugs or mats: In high-traffic areas, place mats to reduce wear on grout lines.
-
Re-seal as needed: Depending on the sealer, reapply every 6 months to 2 years.
Adding grout sealing to your seasonal home maintenance checklist will help prolong the life and appearance of your tile surfaces.
Conclusion
Learning how to clean and seal grout may seem like a chore, but it’s one of the most rewarding DIY tasks for any homeowner or renter. Clean grout instantly brightens your space, while sealing it protects your investment and prevents future headaches.

