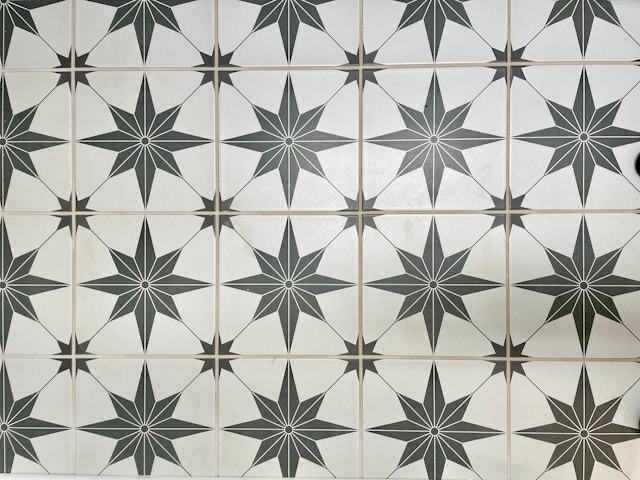
A tile backsplash is one of the easiest ways to add both style and function to your kitchen or bathroom. Not only does it protect your walls from splashes and stains, but it can also completely transform the look of your space. Hiring a professional is an option, but learning how to install a tile backsplash yourself can save you hundreds of dollars and give you the satisfaction of a DIY job well done.
This guide will walk you through every step of kitchen backsplash installation from planning and preparation to the final finishing touches so you can achieve a polished, professional look on your own.
Tools and Materials You’ll Need
Before starting your DIY tile backsplash project, gather the right tools and materials:
-
Tiles (ceramic, porcelain, glass, or stone)
-
Tile adhesive or thin-set mortar
-
Grout (choose a color that complements your tiles)
-
Tile spacers
-
Notched trowel
-
Level
-
Tile cutter or wet saw
-
Sponge and bucket of water
-
Painter’s tape
-
Sealant (for porous tiles or grout)
-
Safety goggles and gloves
Having everything ready before you begin will make the installation process smoother and less stressful.
Planning and Measuring
Good planning is key to a flawless backsplash installation. Start by deciding on the tile style, size, and color. Consider your existing countertop, cabinets, and wall color to ensure your backsplash complements the room’s overall look.
Measure the width and height of the area you’ll be tiling to calculate how many tiles you’ll need. Always buy about 10% extra to account for cuts and potential mistakes.
Lay out a dry run of your tile pattern on a flat surface. This will help you visualize the finished product and identify where cuts will be necessary.
Surface Preparation
For the best results, the wall surface must be clean, dry, and smooth. Remove any grease, dust, or peeling paint. If the wall is uneven, sand it down or apply a skim coat of joint compound.
Cover your countertops and nearby surfaces with painter’s tape and drop cloths to protect them from adhesive and grout. If your wall is painted with glossy paint, lightly sand it so the adhesive will bond better.
Installing the Tile Backsplash
-
Apply the Adhesive
Using your notched trowel, spread tile adhesive over a small section of the wall. Hold the trowel at a 45-degree angle to create ridges in the adhesive this helps the tiles stick firmly. -
Place the Tiles
Starting from the center of your layout line, press each tile firmly into place. Insert spacers between tiles to keep your grout lines even. Use a level to ensure everything is straight. -
Cutting Tiles
When you reach the edges or obstacles like outlets, measure carefully and cut tiles with a tile cutter or wet saw. Always wear safety goggles when cutting. -
Work in Sections
Install your backsplash in small sections to prevent the adhesive from drying out before you place the tiles.
Grouting and Sealing
Once the adhesive has dried (typically 24 hours), remove the tile spacers and prepare your grout.
-
Apply the Grout
Use a grout float to spread grout over the tiles, pressing it into the gaps. Work at a 45-degree angle to fill the joints completely. -
Clean Excess Grout
After about 15 minutes, wipe the surface with a damp sponge to remove grout haze. Rinse the sponge frequently. -
Seal the Grout
Once the grout has cured (about 72 hours), apply a sealant to protect against stains and moisture, especially if you’ve used porous tiles.
Finishing Touches
-
Install trim pieces or edging for a clean look.
-
Caulk the seam between the countertop and the backsplash to prevent water damage.
-
Touch up paint around the edges if needed.
Maintenance Tips
A tile backsplash is easy to maintain. Simply wipe it down with a damp cloth or mild cleaner after cooking or cleaning. Avoid abrasive scrubbing pads that could damage the grout or tile finish. For small chips or cracks, replace the damaged tile promptly to prevent further issues.
Conclusion
Learning how to install a tile backsplash is an achievable DIY project that can add beauty and value to your home. With proper planning, the right tools, and careful attention to detail, you can create a stunning focal point in your kitchen or bathroom that lasts for years.

