
Clean, safe water is essential to your health, but tap water doesn’t always meet the highest standards. Whether it’s sediment, chlorine, or other contaminants, many people turn to water filtration systems to improve water quality. The good news? You don’t need to be a professional plumber to improve your home’s water. In this guide, you’ll learn how to install a water filter system the right way even if you’re a beginner.
Why You Should Install a Water Filter System
Installing a water filter system at home offers multiple benefits. It improves the taste and smell of your tap water, removes harmful contaminants like lead or pesticides, and can even extend the lifespan of your plumbing and appliances. Plus, it helps reduce plastic waste by limiting bottled water use.
Whether you’re renting an apartment or own a house, there’s a filtration system that fits your space, budget, and water needs.
Choosing the Right Type of Water Filter System
Before you get started, it’s important to understand the different types of systems available. Choosing the right one will depend on your budget, technical skill level, and water usage.
1. Under-Sink Water Filter
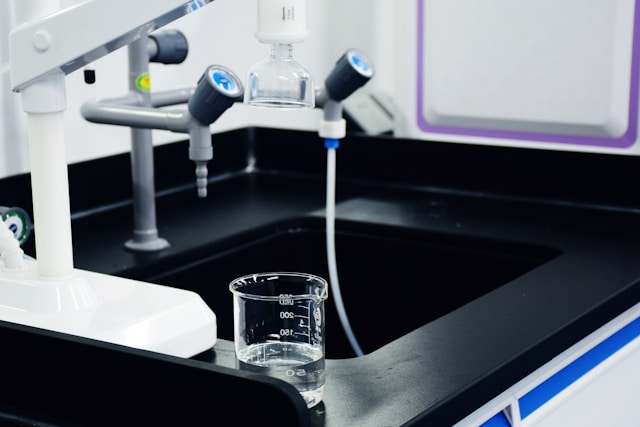
This system is installed under your kitchen sink and typically connects to a separate faucet. It’s great for daily cooking and drinking needs, and installation is relatively simple for most DIYers.
2. Countertop Filter
These connect directly to your kitchen faucet and are ideal for renters or people who want something portable and easy to use.
3. Faucet-Mounted Filter
These attach directly to your faucet and can usually be installed in minutes. While convenient, they may not fit all faucet styles and usually offer limited filtration.
4. Whole House Water Filtration System
This system filters all the water entering your home. It’s ideal for families or people with hard water or heavy sediment problems. Whole house water filtration is more complex to install but offers comprehensive coverage.
5. Pitcher Filters
These are simple and effective for light use but aren’t covered in this DIY water filter installation guide due to their plug-and-play nature.
Tools and Materials You’ll Need
Your tool list may vary depending on the type of system you’re installing, but generally, you’ll need:
-
Adjustable wrench
-
Pipe cutter (for whole house or under-sink filters)
-
Screwdriver (Phillips or flathead)
-
Teflon tape (plumber’s tape)
-
Bucket or towels (to catch water spills)
-
Mounting bracket (usually included)
-
Replacement filters (check specs for your model)
-
Drill (for mounting, if needed)
Always refer to the manufacturer’s manual for exact parts and steps.
Pre-Installation Preparation
Before starting the installation:
-
Turn off the water supply either under the sink or at the main line.
-
Relieve water pressure by opening a faucet.
-
Choose the installation location accessible, close to plumbing, and with enough clearance for filter changes.
-
Read the instructions each product has slightly different requirements.
-
Measure and mark any drill or cut points before committing.
How to Install a Water Filter System
Installing an Under-Sink Water Filter
-
Shut off the cold-water supply valve.
-
Disconnect the cold-water line from the faucet using your wrench.
-
Attach the filter’s inlet port to the cold-water valve and secure it using Teflon tape.
-
Connect the outlet port to your faucet line.
-
Mount the filter housing to the cabinet wall using screws and a bracket.
-
Turn the water supply back on and check for leaks.
-
Flush the system as recommended before first use.
Installing a Faucet-Mounted or Countertop Filter
-
Unscrew your faucet’s aerator.
-
Attach the filter system’s diverter valve.
-
Ensure a snug fit use included adapters if needed.
-
Run water through the filter for a few minutes to flush.
Installing a Whole House Water Filtration System
-
Shut off the main water supply.
-
Relieve pressure by opening all faucets.
-
Cut into the main water line where you want to install the system.
-
Install shutoff valves on both sides of the filter for maintenance ease.
-
Mount the filter system to the wall or floor.
-
Connect inlet and outlet pipes using compression fittings or soldering (based on your setup).
-
Secure all fittings with Teflon tape.
-
Slowly turn on the water and inspect for leaks.
-
Flush the system according to the manual.
This type of installation may require plumbing knowledge. If you’re unsure, consult a professional.
Post-Installation Checklist
-
Check for leaks at every connection point.
-
Flush the system thoroughly before using the water.
-
Test water clarity and taste.
-
Dispose of packaging and old parts safely.
Set a reminder for when the filter needs replacing some apps and devices even track usage for you.
Common Mistakes to Avoid
-
Skipping the manual – Always read manufacturer guidelines first.
-
Overtightening connections – This can crack plastic fittings or strip threads.
-
Forgetting to flush – It’s crucial to remove carbon dust and prime the system.
-
Using incompatible filters – Always match the replacement model exactly.
Maintenance Tips for Long-Term Use
-
Replace filters on time typically every 3 to 6 months, depending on water quality and usage.
-
Keep an eye on water flow a sudden drop may indicate a clogged filter.
-
Clean reusable filter housings with mild soap during replacement.
-
Inspect for leaks monthly to prevent long-term damage.
Good maintenance ensures consistent performance and better water quality over time.
Conclusion
Learning how to install a water filter system is one of the most valuable DIY upgrades you can make in your home. Whether you’re going with an under-sink water filter or taking on a whole house water filtration project, the benefits of cleaner, safer water are well worth the effort. With a bit of preparation, the right tools, and attention to detail, you can install your system confidently and enjoy fresh, filtered water every day.