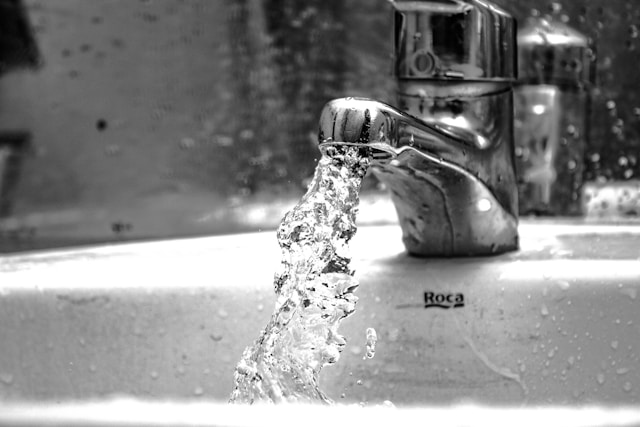
Whether you’re upgrading your kitchen or bathroom for aesthetics, functionality, or to stop that constant drip, learning how to install a new faucet is a straightforward and rewarding DIY task. You don’t need to be a professional plumber to do it successfully just a few tools, a bit of patience, and this step-by-step guide.
This article walks you through everything you need to know about DIY faucet replacement, from preparation to installation and troubleshooting. Whether you’re dealing with a leaky kitchen faucet or updating your bathroom hardware, we’ve got you covered.
Why Replace a Faucet?
There are several reasons why you might want to replace your faucet:
-
Persistent leaks that waste water and money
-
Outdated design or finish that no longer suits your space
-
Low water pressure due to buildup or damage
-
Upgrading to a hands-free or pull-down model
-
A desire for better efficiency and functionality
Installing a new faucet can instantly refresh your space and improve your daily routines plus, it’s a manageable weekend project for most homeowners.
Tools and Materials You’ll Need
Before you begin your kitchen faucet installation or bathroom faucet upgrade, gather the following:
-
Adjustable wrench
-
Basin wrench (for hard-to-reach nuts under the sink)
-
Bucket or old towel
-
Plumber’s tape (Teflon tape)
-
Silicone sealant or plumber’s putty (optional, check faucet instructions)
-
New faucet and supply lines (some faucets come with them)
-
Safety gloves and flashlight (optional but helpful)
Having these ready will make the process smoother and help you avoid unnecessary delays.
Before You Start
1. Turn Off the Water Supply
Locate the shut-off valves under the sink and turn them clockwise to stop water flow. Open the faucet to release any remaining water and pressure from the lines.
2. Clear Out Under the Sink
Give yourself space to work by removing cleaning supplies or any items stored beneath the sink.
3. Check the Faucet Instructions
Every faucet model is slightly different. Always read the manufacturer’s guide to understand if any special steps or tools are required.
Guide to Installing a New Faucet
Here’s how to install a new faucet with confidence, even if it’s your first plumbing project.
Step 1: Remove the Old Faucet
-
Use a wrench to disconnect the hot and cold water supply lines.
-
Loosen and remove the nuts or mounting hardware that hold the faucet to the sink. You may need a basin wrench for hard-to-reach areas.
-
Carefully lift out the old faucet and clean around the holes using a mild cleaner or vinegar to remove grime or mineral buildup.
Step 2: Prepare the New Faucet
-
If your new faucet includes a gasket or base plate (escutcheon), place it over the mounting holes according to instructions.
-
Some models recommend using plumber’s putty or silicone under the base to prevent leaks.
Step 3: Install the New Faucet
-
Insert the faucet shanks through the mounting holes in the sink or countertop.
-
From underneath the sink, secure the faucet using the provided mounting nuts or brackets.
-
Ensure the faucet is centered and straight before fully tightening the connections.
Step 4: Connect the Supply Lines
-
Attach the hot and cold water lines to the corresponding valves using an adjustable wrench.
-
Wrap plumber’s tape around threaded connections for a leak-free seal.
-
Be careful not to overtighten, which can damage threads or cause leaks.
Step 5: Check for Leaks and Test the Faucet
-
Turn the water supply back on slowly.
-
Check all connections for drips or leaks.
-
Turn on the faucet and let it run for a minute to clear out any debris.
-
Test both hot and cold settings, and ensure proper water pressure.
If you see any small leaks, tighten the fittings slightly. If leaks persist, turn off the water and recheck your plumber’s tape or washers.
Common Mistakes to Avoid
Even a simple DIY faucet replacement can go wrong if you’re not careful. Here are common errors to avoid:
-
Forgetting to shut off the water: Always double-check to prevent flooding.
-
Mismatched supply lines: Make sure the connectors match the faucet threads and valves.
-
Overtightening fittings: This can strip threads or crack fittings, causing more leaks.
-
Skipping the leak test: Always check your work before using the sink as normal.
When to Call a Professional
Sometimes it’s better to hire a plumber, especially if:
-
Your home has outdated or corroded plumbing
-
You need to modify the countertop or sink
-
The faucet installation requires electrical work (e.g., touchless faucets)
-
You’re dealing with persistent leaks even after multiple attempts
If your project becomes overwhelming, calling a professional can save time and prevent costly damage.
Conclusion
Installing a new faucet doesn’t have to be intimidating. With a few basic tools and some preparation, you can complete a bathroom faucet upgrade or kitchen faucet installation in just an hour or two. Not only will you improve the appearance of your space, but you’ll also enjoy better performance and water efficiency.

